It can be really frustrating to find that your VR headset has not been detected and refuses to work when you plug it into your computer. There are a number of common causes for this problem, but thankfully, most are easily fixed. This article is going to walk you through the steps you should take to get your VR headset working perfectly.
The most common reasons why your VR headset is not detected are a loose cable connection, incorrectly installed software, USB port problems, or out-of-date drivers. Check SteamVR, driver, and VR headset software installations, and ensure good cable connections to fix most issues.
Why Won’t My PC Recognize My VR Headset?
The best way to fix a VR headset that is not being detected is to work through the list of common problems, fixing any problems as you go. Let’s look at each issue, in turn, to help you get your VR headset working. I’ll be covering many issues that will apply to all headsets, as well as a number of issues that are specific to particular headsets or software.
Step By Step Help To Fix VR Headset Not Detected Errors
If you’ve plugged your VR headset into your computer, but SteamVR is refusing to detect its presence, it can be a pretty frustrating experience. The good news is that most problems have a simple solution. Work through the following issues and you are highly likely to resolve the issue.
- Check Steam VR is installed correctly. If you haven’t already, search for SteamVR on the Steam store and install the SteamVR software. If you have already installed this, verify the file integrity to ensure it is installed correctly.
- If you have an Oculus headset, you’ll need to ensure the Oculus software is installed and updated correctly.
- If you have a WMR headset such as the HP Reverb G2 or Samsung Odyssey+, you’ll need to go through the Windows Mixed Reality setup, and also install Windows Mixed Reality For SteamVR in Steam.
- Check the connection of all cables for your headset, to ensure they are seated correctly.
- Try plugging the VR Headset cable into a different USB port on your computer. Make sure it is USB 3.0 or higher.
- Try a different USB cable, in case the current one is faulty.
- Update your graphics card and audio drivers.
- Turn off Windows power management for your USB ports (step by step guide below).
- Review any specific SteamVR error codes to help you determine what the problem is (more detail below).
Let’s move on to look at some of these issues in more detail to help you work through the solutions and get the problems fixed.
SteamVR Not Installed Correctly
Your VR headset won’t function with SteamVR unless the SteamVR software is correctly installed. Open up Steam and search for SteamVR. This is a free piece of software that is essential to make your VR headset function properly with any software through Steam.
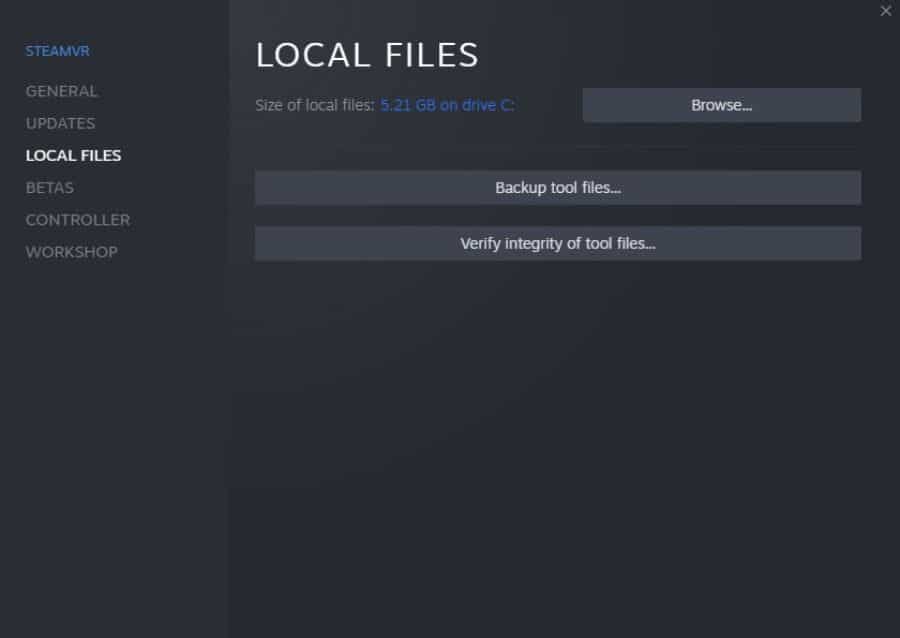
Simply search for SteamVR on the Steam store and install this program. If you have already done this, it is usually a good idea to check the integrity of the files.
Navigate to the “Library” tab within Steam and right-click on SteamVR. Select “properties”, then “local files”, and then click on “verify integrity of tool files”. This will ensure that SteamVR is properly installed. The other option is to delete SteamVR and reinstall it.
WMR Software Not Installed Or SteamVR Not Detecting WMR Headset
If you have a Windows Mixed Reality (WMR) headset, such as the HP Reverb G2 or Samsung Odyssey+, there are a few other steps you need to take to ensure that your headset will work properly.
Make sure that you have correctly set up the Mixed Reality Portal for Windows. Navigate to the Start Menu and type “mixed reality portal”. This should locate the mixed reality portal app that comes pre-installed with Windows 10 and higher.
Once it has loaded, click on “start setup and check your PC” in the bottom right corner. This will guide you through the setup of your WMR headset.
After this, here are a few things you should do
- Open Steam and search for “Windows Mixed Reality For SteamVR”. This is the software that is required to make WMR headsets work with SteamVR. Install this program on Steam.
- If you have already done this step, but are having problems, verify the integrity of local files in the same way as I described for the SteamVR software, to ensure that it is installed correctly.
- Check that you have the latest drivers for your headset and that Windows is up to date. Go to the settings menu in Windows, then “Update & Security”, then check for updates. Install any pending updates.
Oculus Software Not Installed Or Updated
If you have a wired Oculus headset such as the Rift S, or if you are using the Quest 2 with an Airlink cable, you will normally need to ensure the Oculus software is installed to allow your headset to function. Whilst there are a few situations where you can use the Oculus software, or SteamVR alone, for most people, it is best to have both. You can download the Oculus software here.
- Check that the Oculus software is installed correctly and up-to-date.
- Make sure that SteamVR is properly installed.
Check The Cable Connections If Your VR Headset Isn’t Detected
One of the simplest issues, and the easiest to fix, is when the cable connecting your VR headset to your computer is loose. Depending on your headset, there may be a number of cable connections that you need to check.
For example, on the HP Reverb G2 there are two cables that connect to the computer (DisplayPort 1.3 and USB 3.0 cable), a power cable that connects to a “breakout box” mid-way along the cable, and a DisplayPort 1.3 cable that attaches to the headset.
It is normally best to remove each cable in turn and firmly reinsert them, ensuring that there is a good connection. Once you have done this, you can test the headset to see if it is working.

Try A Different USB Port On Your Computer
There are a number of VR headsets that have issues using certain USB ports on your computer. The most obvious point is that the USB port must be USB 3.0 or higher, so make sure you don’t have your headset plugged into a USB 2.0 port, as the headset will not work.
Equally, there are a multitude of reasons why VR headsets refuse to work with specific USB ports, so it is normally a good idea to try each of the available USB 3.0 ports available on your computer.
If your headset starts to work, but then cuts out after a few seconds, or if the tracking fails unpredictably, then it may be a conflict with the USB port you are using. I have previously had success getting a separate, powered USB PCIe card for my computer. It is normally a good idea to exclude all other issues first before resorting to this.
Try A Different USB Cable
There have been numerous reports of people having problems with faulty USB cables, so consider this option if your VR headset is not detected. This has occurred with brand-new, first-party cables for Quest 2, Valve Index, HP Reverb G2, as well as 3rd party USB cables.
The quality of the USB cable you use does matter, as you need to have one that is capable of data transfer speeds of 5Gbps for most headsets.
Update Your Graphics Card And Audio Drivers
Graphics and audio drivers can cause conflicts with a number of VR headsets, and it can be difficult to pin down the exact problem at times. For this reason, it is best to keep your graphics and audio drivers up-to-date to minimize the risk of any issues.
Turn Off Windows Power Management For Your USB Ports
Windows can sometimes cause issues with VR headsets due to problems with the power management settings for USB ports. If your VR headset is refusing to work, you should follow these steps to change the power management settings and rule this out as a cause of your VR headset not working:
- Navigate to “Control Panel”, then “System and Security”, then “System”.
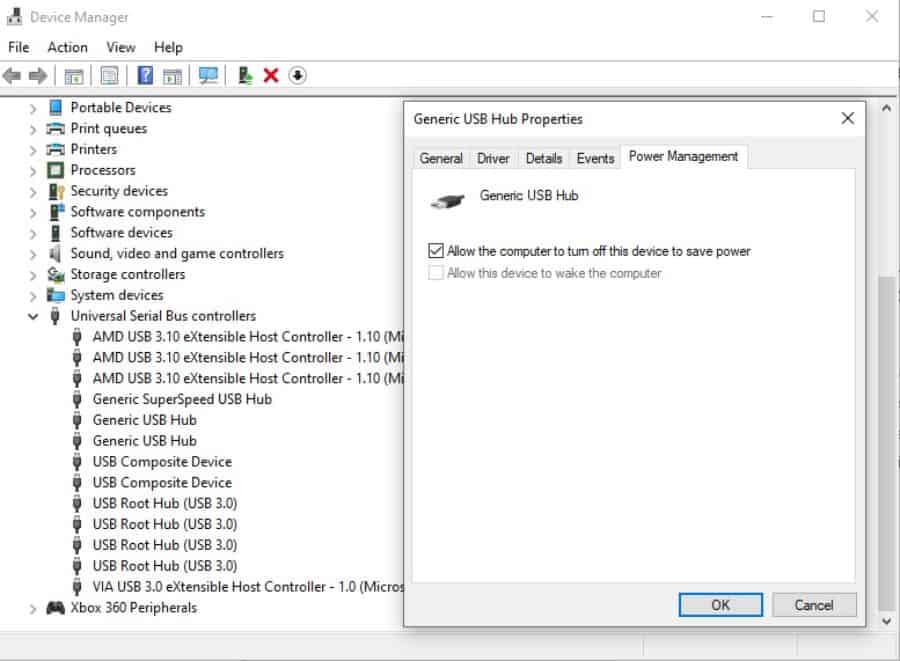
- Select “Device Manager” from the list on the right, then click on “Universal Serial Bus controllers” to expand the list.
- Right-click “Generic USB Hub” (there may be more than one) and then select “Properties”.
- Click the “Power Management” tab, and then de-select “Allow the computer to turn off this device to save power”.
- Repeat this for any other “Generic USB hub” listings.
- Unplug the USB cable from your VR headset to your computer and then plug it in again.
SteamVR Error Codes And Solutions
SteamVR may produce an error code if there is a problem when you plug your VR headset in, to help you determine the reason why your VR headset is not detected. This next section covers some of the more common SteamVR error codes, and how to fix them.
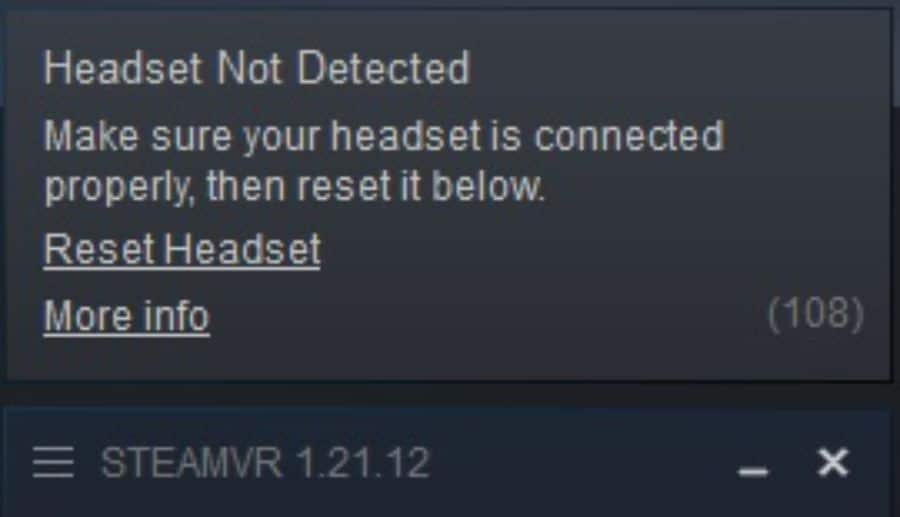
Error 108 (Headset Not Detected)
Error 108 is the most common error code, but it is a non-specific error that means your VR headset has not been detected. This can be due to a wide range of issues, so you are best to start by going through the guidance earlier in this article.
Error 208 (HMD Display Not Found)
Error 208 means that your headset has been detected, but the display on your VR headset has not been recognized or configured. This can be due to a poor cable connection, so check that these are firmly secured. If this doesn’t work, it can often be fixed by restarting both your headset and computer.
Error 113 (Path Registry Not Writable)
This error code refers to a problem with SteamVR’s user write rights. Check your permissions for writing to your PC’s user directory to ensure SteamVR can save to the necessary locations.
Error 200 (Driver Failed)
Error 200 is caused when there is a problem with the OpenVR driver, or when there are conflicts in the SteamVR driver directory. If you have manually added any files or drivers to this library, they should be deleted.
Windows 10 updates can also cause problems with the OpenVR driver, resulting in error 200. You can fix this by installing the Windows Media Pack for Windows 10.
Occasionally, error 200 can be caused by a faulty USB cable, so you should try an alternate cable if possible to see if this fixes the issue.
Error 301 (Connect Failed)
Error 301 is usually caused by missing or corrupt files within SteamVR. The most common fix is to make sure SteamVR is correctly installed by verifying the integrity of the files.
If this doesn’t work, try uninstalling and then reinstalling SteamVR.
Error 302 (Init Failed)
Error 302 is caused by problems with Vrserver starting up. This can normally be fixed by restarting your computer and relaunching SteamVR.
Contact Your VR Headset Manufacturer for More Help With VR Headset Not Detected Errors
If you have been through all these steps and are still no closer to resolving the cause of your VR headset not being detected, I would strongly advise you to contact the customer service department of your VR headset manufacturer.
Each individual headset will have a number of specific issues that affect small numbers of headsets and the VR headset manufacturer may be able to give further advice. Support forums for individual VR headsets are also a good source of help from other users of your individual headset.
If you are still getting nowhere despite ruling out all the common hardware and software issues, you should consider the possibility that you have a faulty headset. Ask your headset manufacturer if they are able to provide a replacement device to see if this is the cause of the problem.
Last Word
I hope by the end of these steps you have resolved the reason why your VR headset is not being detected. Although this article covers most of the common issues, there are no doubt a lot of rare issues that can also cause problems.